Method Statement for Unit Masonry
A. Introduction
This method statement outlines the procedures for unit masonry work, including the use of concrete masonry units and mortar materials.
It covers equipment, preparation, installation, and construction tolerances to ensure the quality and accuracy of the masonry assembly.
B. Materials
- Concrete Masonry Units
- Various concrete masonry units will be used, including:
- 100mm Hollow and Solid blocks.
- 150mm Hollow and Solid blocks.
- 200mm Hollow and Solid blocks.
- 200mm Insulated blocks.

Ready to take your skills to the next level? 🚀 Check out our Special Online Courses! 🚀
Gain valuable insights, boost your career, and learn from industry experts.
- Mortar Materials/Mix
- Approved mortar materials will be used, with a minimum cement-to-sand mix ratio of 1:3 (subject to Approval). The mortar’s strength should not be less than 5 + 1N/mm. Mortar must be used within 30 minutes after mixing.
C. Equipment and Tools
- Motor-driven saws for cutting masonry units.
- Water-cooled saws.
- Electrical grinders for cutting embedded E/M conduits.
- Mechanical mixer machine for mortar job mix.
- Tools: wire level, plumb bob, chisel, concrete swivel, aluminum bar, steel angle (90o/45o/135o), rubber hammer, brush, bucket, one-wheel trolley.
D. Preparation
- Survey and Inspection
- Conduct a survey and inspection upon the completion of structural work to record deviations and deficiencies. Submit a report to the engineer for each building before commencing masonry assemblies on the foundation.
- Clean the Surface
- Clean the floor under the wall course of dirt using a brush. Remove any slurry and laitance, leaving a sound concrete surface.
- Setting Out
- Set out unit masonry work for each building based on coordinates from approved shop drawings.
E. Installation
- Wall Layout
- Lay out walls for accurate spacing of surface bond patterns, precise location of openings, movement-type joints, returns, and offsets.
- Wet Masonry Units
- Wet bricks before laying to allow units to absorb water. They should be damp but not wet at the time of laying the course.
- Wet the Floor
- Wet the floor under the walls.
- Starting Course
- For the starting course on footings, spread a full mortar bed, including areas under cells, following the approved wall setting.
- Masonry Unit Placement
- Masonry units will be laid with full-coverage mortar on horizontal and vertical shells, maintaining a joint thickness between 10mm minimum and 12mm maximum.
- Connection Between Walls
- Ensure that walls and partitions are bonded and tied by using wall angles, which should be nailed in the column before the next layer is laid.
- For partition connection to an adjacent wall, use toothing.
- Work Inspection Request
- Submit a “Work Inspection Request” to the consultant for approval of the first course, signed by all concerned related disciplines for coordination purposes.
- Course Laying
- Lay courses to comply with specified construction tolerances, ensuring accurate spacing and coordination with other construction. Limit the laying of courses to no more than six in one day.
- Stopping and Resuming Work
- When stopping and resuming work in each course, rack back one-half running bond or one-third unit length for one-third running bond. Clean exposed surfaces of set masonry and remove loose units and mortar before laying fresh masonry.
- Filling Cores
- Fill cores in hollow masonry units with mortar under bearing plates, beams, lintels, posts, doors, and window opening jambs.
- E/M Embedment Openings
- Leave openings for E/M embedment and fixtures. After the approved successful installation, complete the masonry to match the adjacent wall. Routing, grinding, and chiseling will be used for E/M embedment openings.
- Lintel Beams
- Cast lintel beams in situ with a minimum depth of 200mm for all openings in masonry assemblies, ensuring a 200mm minimum bearing at each jamb.
- Mortar in Joints
- Install mortar in the joint between the top of the partition and the soffit after filling the gap with solid piece blocks and installing compressible filler.
- Hollow Metal Frames
- Fill the space between hollow metal frames and masonry solidly with mortar.
- Cleaning
- Clean unit masonry as work progresses by dry brushing to remove mortar fins and smears before tooling joints.
- Replacement
- Remove and replace masonry units that are loose, chipped, or broken. Install new units to match adjoining units with fresh mortar.
- Curing
- Cure masonry for 3 days by sprinkling water twice a day.
D. Construction Tolerances
- Plumb Variation
- Plumb variation for vertical lines and surfaces of columns, walls, and rises should not exceed 3mm in 3m, nor 6mm in 12m.
- Level Variation
- Variations from level for bed joints and lines of exposed lintels, sills, parapets, and horizontal grooves should not exceed 3mm in 6m, nor 6mm in 12m.
- Linear Building Line
- Variations in the linear building line for columns, walls, and partitions should not exceed 6mm in 6m, nor 10mm in 12m.
- Mortar-Joint Thickness
- Variations in mortar-joint thickness should be within 3mm, with a maximum thickness of 12mm.

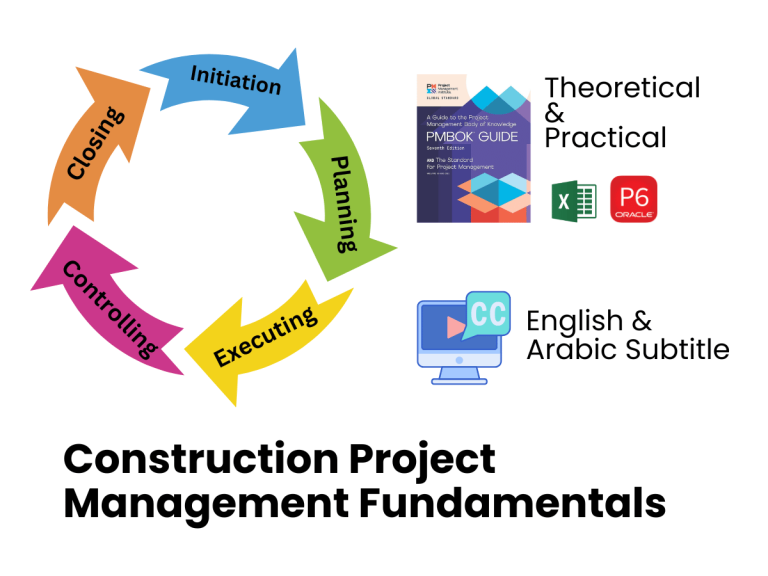
Construction Project Management Fundamentals Course
Learn how real construction projects are planned, managed, and controlled — from initiation to closing — using practical methods to deliver on…
- 7,555 students
- WhatsApp support group
- Certificate
Here is another article about the Block Work Method Statement
Download the Resources of this Article
Method Statement for Unit Masonry 333.27 KB 2679 downloads

Keep in Touch
Join our Email Newsletters and receive FREE weekly useful content!

Keep growing with Planning Engineer
Learn with a clear path
From Primavera P6 basics to claims, cost control and Power BI. Start with our free courses.
Browse coursesGet help on WhatsApp
Every course comes with a private WhatsApp support group where our team answers your questions.
Join a courseFind planning jobs
25 open planning and project control jobs. Post your resume so employers can find you.
See jobsGet tips by email
Free planning tips, templates and course offers. Unsubscribe any time.
Related posts:







![What Is Included in the Weekly Report [Report Template]](https://planningengineer.net/wp-content/uploads/2025/05/What-Is-Included-in-the-Weekly-Report-Report-Template-600x400.png)